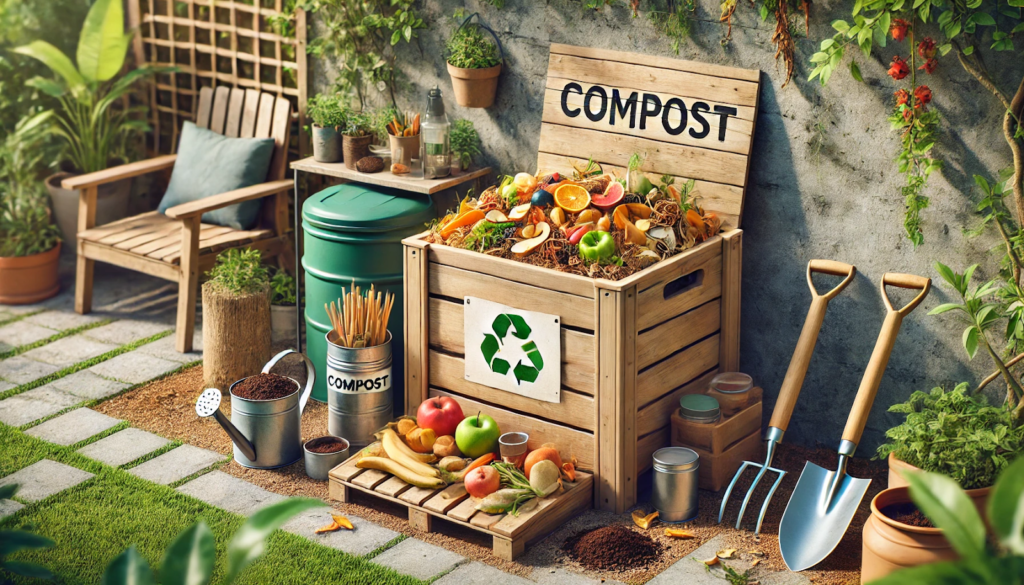
Starting a compost bin at home is one of the simplest and most impactful steps you can take toward sustainable living. Composting transforms kitchen and yard waste into rich, nutrient-filled soil that improves your garden, reduces trash, and saves money on store-bought fertilizer.
Whether you live in an apartment or have a full backyard, this guide will show you exactly how to start a compost bin at home—successfully and odor-free.
Why Compost at Home?
- Reduces landfill waste: Up to 30% of household waste is compostable.
- Improves soil: Adds nutrients, improves texture, and boosts water retention.
- Saves money: Cuts down on fertilizer costs.
- Reduces methane emissions: Organic matter in landfills releases methane—a potent greenhouse gas.
- Promotes sustainable gardening: Supports healthier, more productive plants.
What You Can Compost
Greens (Nitrogen-rich)
- Fruit and vegetable scraps
- Coffee grounds and filters
- Tea bags (no plastic)
- Fresh grass clippings
- Plant trimmings
Browns (Carbon-rich)
- Dry leaves
- Paper towels and napkins
- Cardboard (shredded)
- Newspaper (non-glossy)
- Sawdust (from untreated wood)
Avoid:
- Meat, dairy, or greasy food
- Pet waste
- Plastic or synthetic materials
- Diseased plants or invasive weeds
Step 1: Choose the Right Compost Bin
You don’t need a fancy system to start composting, but it helps to contain your materials.
Types of Bins:
- Plastic compost bins: Great for small yards or patios
- Wooden compost enclosures: DIY-friendly and breathable
- Tumbling bins: Easy to mix and manage
- Indoor compost bins: Compact and odor-controlled for small spaces
- Worm bins (vermicomposting): Ideal for apartments and indoor use
Tip: Choose a bin with good airflow and easy access for turning the compost.
Step 2: Find a Good Location
Place your bin in a spot that’s:
- Easily accessible year-round
- Shaded or partially sunny
- Close to your kitchen or garden
- On bare soil or a breathable surface (if possible)
If placing on concrete or indoors, add a tray or liner underneath.
Step 3: Build Your First Compost Layers
Start by alternating green and brown materials in layers.
Example:
- Base layer: Dry leaves or shredded paper (browns)
- Next: Vegetable scraps or fruit peels (greens)
- Add: More dry materials on top
Always finish with a layer of browns to reduce odor and keep pests away.
Step 4: Maintain the Right Balance
A good compost pile needs a balance of carbon (browns) and nitrogen (greens).
Ideal Ratio:
- About 3 parts brown to 1 part green
- Pile should feel like a wrung-out sponge—moist, but not wet
Too much green? Add shredded cardboard.
Too dry? Add a bit of water and more greens.
Step 5: Turn the Compost Regularly
Turning or stirring your compost introduces oxygen and speeds up decomposition.
Tips:
- Turn once a week or whenever the pile feels compacted
- Use a pitchfork or compost aerator
- Tumbling bins do this automatically—just spin every few days
Proper aeration prevents foul smells and encourages faster breakdown.
Step 6: Monitor and Troubleshoot
| Problem | Cause | Solution |
| Bad odor | Too many greens or not enough air | Add browns, turn more often |
| Dry pile | Not enough moisture | Add water and greens |
| Slow decomposition | Poor balance or cold weather | Adjust ratio, insulate bin |
| Pests | Exposed food scraps | Bury greens, avoid meat/dairy |
Step 7: Harvest Your Compost
Depending on the system and conditions, compost is usually ready in 2–4 months.
Signs it’s ready:
- Dark, crumbly texture
- Earthy smell (not sour or rotten)
- No visible food scraps
How to use it:
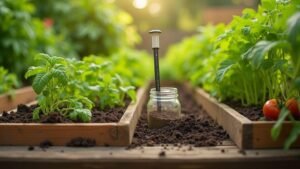
- Mix into garden beds
- Top-dress potted plants
- Blend with potting soil
- Feed your lawn or flower beds
Indoor Composting Options
Don’t have outdoor space? You can still compost indoors!
Vermicomposting (with worms):
- Use a small bin with bedding, food scraps, and red wiggler worms
- Keep it under the sink, in a cabinet, or on a balcony
- Low-odor and highly effective
Bokashi Composting:
- Ferments food waste using inoculated bran
- Works in tight spaces
- Can handle dairy and small meat scraps
Composting Tips for Success
- Chop larger items for faster breakdown
- Avoid oily, salty, or heavily processed foods
- Keep the pile moist, but not soggy
- Cover fresh additions with browns
- Label your bin if shared with others
Grow Your Garden with What You Already Have
Composting at home is a powerful step toward a more sustainable and productive garden. It transforms waste into value, strengthens your soil, and reduces your environmental footprint—all from your kitchen and backyard.
Start small, stay consistent, and enjoy the rewards of turning scraps into soil.


